-
 Continue reading →: 4-Ingredient Mexican-Style Corn
This easy side dish is made all the better with the fact that there are only four ingredients!
-
 Continue reading →: Dairy-Free Pineapple “Ice Cream” Recipe
Fresh, healthy, easy and impossibly creamy, make this two-ingredient Dairy-free Pineapple “Ice Cream.”
-
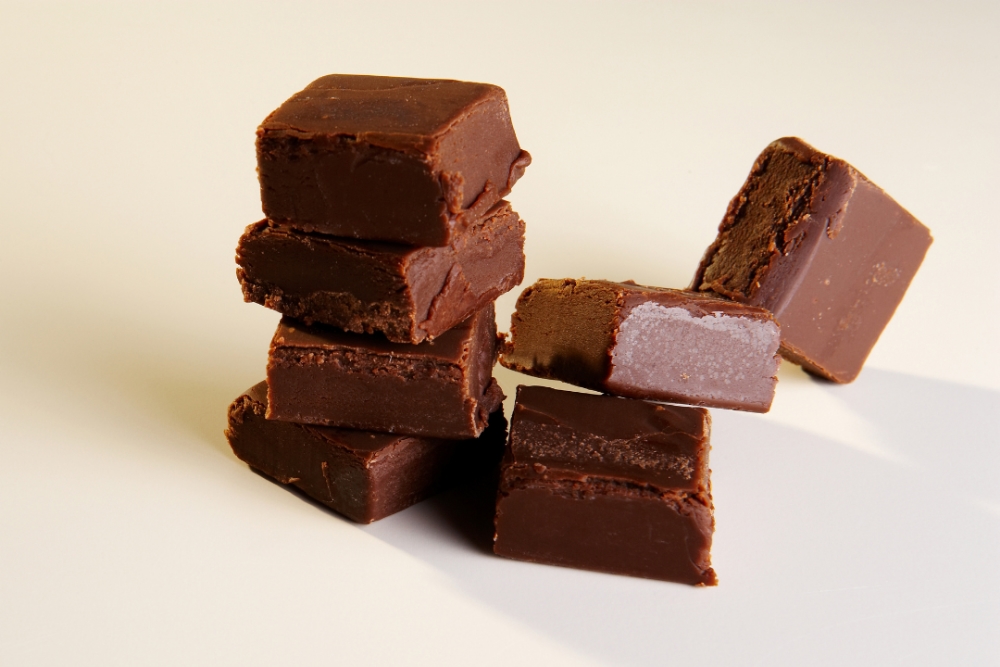 Continue reading →: Two-Ingredient Chocolate Fudge
When you really need some chocolate, you’ll be so glad you made this easy two-ingredient chocolate fudge that’s ready in your freezer when you want it.
-
 Continue reading →: Seville Orange Green Beans Recipe
Make veggies even better with this easy and delicious recipe, Seville Orange Green Beans courtesy of Fischer & Wieser Specialty Foods.
-
 Continue reading →: Yellow Squash and Garbanzo Beans
Here’s a vegetarian meal that’s hearty, easy and delicious.
-
 Continue reading →: Biscochitos Cookie Recipe
Here’s the recipe for light and delicious Biscochito cookies, a holiday tradition authentic to New Mexico.
-
 Continue reading →: Tomato Cream Cheese Soup Recipe
Amp up your average tomato soup and grilled cheese sandwich with this easy Tomato Cream Cheese Soup recipe.
Hello,
I’m Edan Goode
I am a real person, making real food, taking real photos (sometimes haphazardly) of it to provide family-friendly recipes and reviews of food products for busy families. Visit our “big sister” blog for news and reviews of restaurants, travel, theater and movies at www.InGoodTasteDenver.com.
Let’s connect
Join the fun!
Stay updated with our latest tutorials and ideas by joining our newsletter.