Skip to content
Everyone Around the Table
Search
Search
About
E.A.T. on Instagram
Category:
food blog
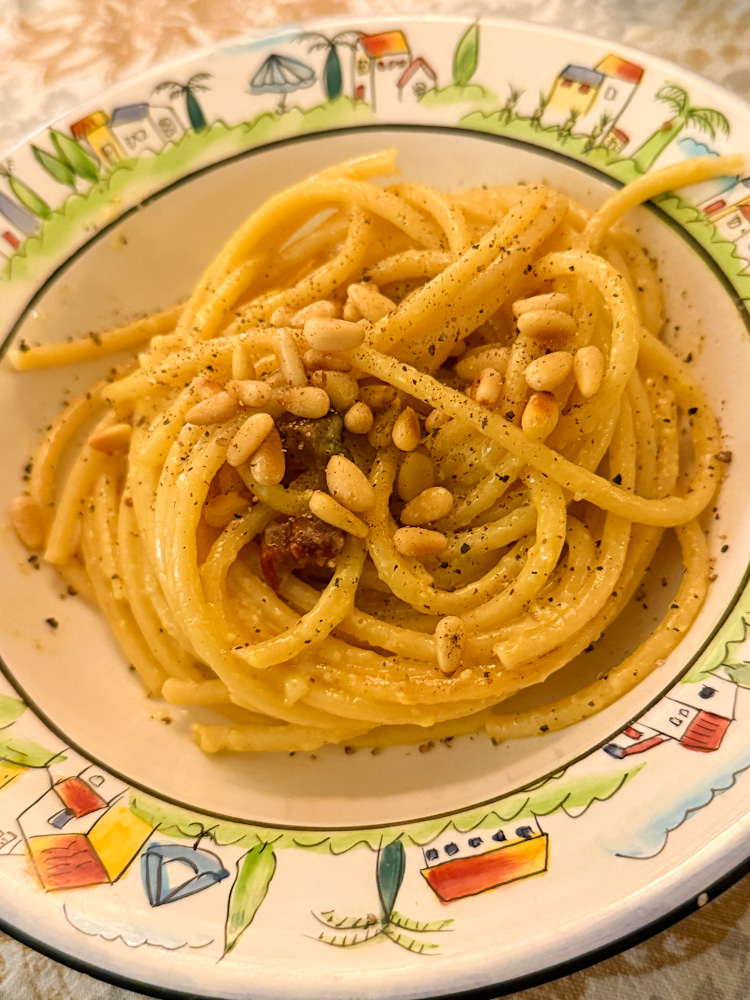
Pasta Carbonara “Americana” Recipe
4-Ingredient Mexican-Style Corn
Dairy-Free Pineapple “Ice Cream” Recipe
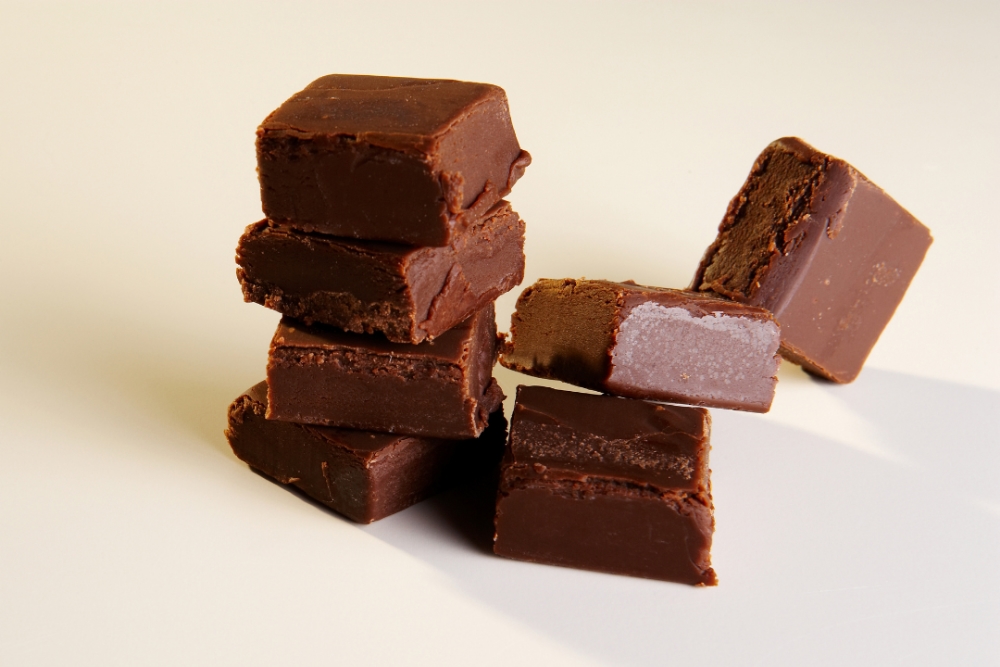
Two-Ingredient Chocolate Fudge
Seville Orange Green Beans Recipe
Yellow Squash and Garbanzo Beans
Biscochitos Cookie Recipe
Next Page
Privacy & Cookies: This site uses cookies. By continuing to use this website, you agree to their use.
To find out more, including how to control cookies, see here:
Cookie Policy
Subscribe
Subscribed
Everyone Around the Table
Join 107 other subscribers
Sign me up
Already have a WordPress.com account?
Log in now.
Everyone Around the Table
Subscribe
Subscribed
Sign up
Log in
Report this content
View site in Reader
Manage subscriptions
Collapse this bar