Skip to content
Everyone Around the Table
Search
Search
About
E.A.T. on Instagram
Category:
baking
Biscochitos Cookie Recipe
What It’s Really Like to Be On “Holiday Baking Championship”
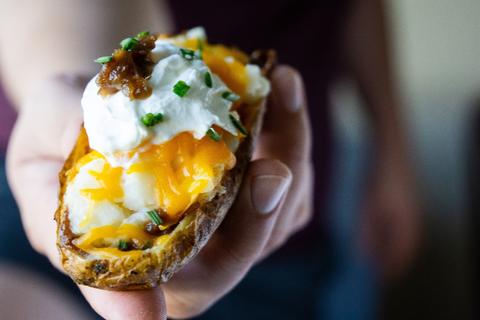
Pig Skin Potatoes with Bacon Jam
Mama’s Best Banana Bread
Mayan Mystery Cookies
Sunday Baked Chicken Supper
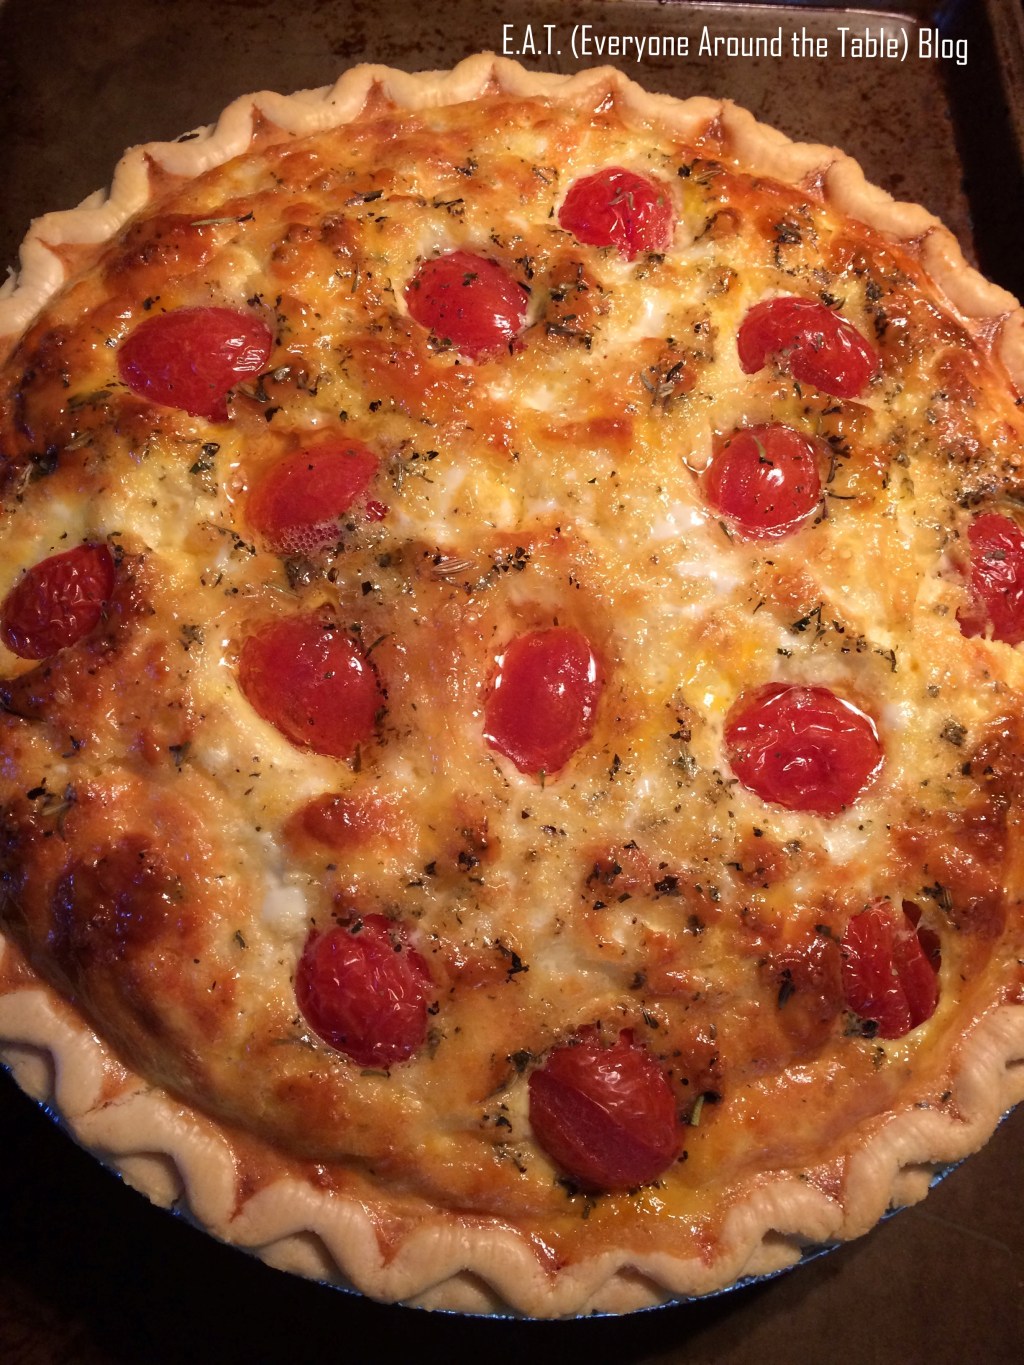
Bacon Tomato Tart – A Guest Blog
Next Page
Privacy & Cookies: This site uses cookies. By continuing to use this website, you agree to their use.
To find out more, including how to control cookies, see here:
Cookie Policy
Subscribe
Subscribed
Everyone Around the Table
Join 107 other subscribers
Sign me up
Already have a WordPress.com account?
Log in now.
Everyone Around the Table
Subscribe
Subscribed
Sign up
Log in
Report this content
View site in Reader
Manage subscriptions
Collapse this bar